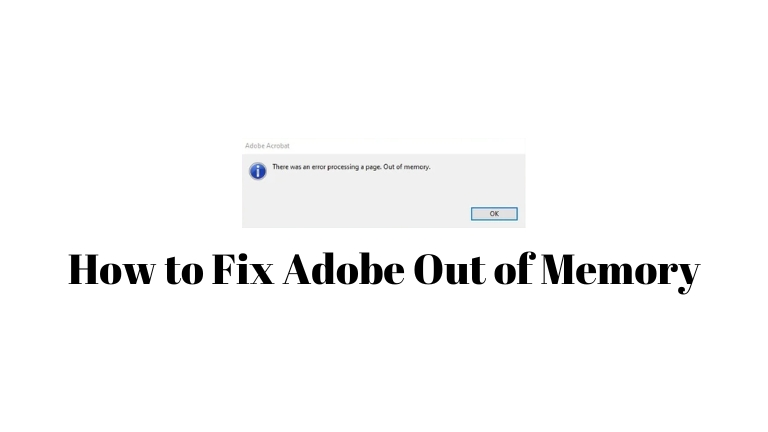
Adobe software, like Adobe Photoshop, Premiere Pro, and After Effects, can sometimes have a problem called the “Adobe out of memory” error. This error can make it difficult for you to do your work. In this article, we will explain why this error happens and how you can fix it.
Understanding Adobe Out of Memory Errors
When you see an Adobe out-of-memory error, it means that the software has run out of memory and can’t continue working. This usually happens when you are using big files or many Adobe programs at the same time.
Common Reasons for Adobe Out-of-Memory Errors
There are a few reasons why Adobe out-of-memory errors can happen. Here are some common causes:
- Not enough memory in your computer
- The computer doesn’t have enough space for virtual memory
- You are working with large files or complicated projects
- Adobe software has a problem that uses too much memory
- You are using an old version of Adobe software
- Other programs on your computer are using a lot of memory
How To Fix Adobe Out of Memory Errors
To fix Adobe out-of-memory errors, follow these steps:
Step 1: Close Other Programs
Before you start using Adobe software, close any other programs that you don’t need. This will give more memory to Adobe software and make it work better.
Step 2: Increase Virtual Memory
Increase the virtual memory on your computer. Virtual memory is like extra memory that helps the computer when it runs out of regular memory. Here’s what you can do:
- Go to the Control Panel on your computer.
- Look for “System” or “System and Security” and click on it.
- Find “Advanced system settings” and click on it.
- In the new window, click on the “Advanced” tab and find “Settings” under the “Performance” section.
- In the Performance Options window, go to the “Advanced” tab and find “Change” under the Virtual Memory section.
- Uncheck the box that says “Automatically manage paging file size for all drives.”
- Choose the drive where your operating system is installed (usually C:) and select the option “Custom size.”
- Set the initial size and maximum size of the virtual memory to the same number for better performance.
- Click “OK” to save the changes.
Step 3: Clear Cache and Temporary Files
Adobe software creates a cache and temporary files while you use it. These files take up space and can cause memory errors. To fix this, follow these steps:
- Open the Adobe software that is giving you the out-of-memory error.
- Go to the Preferences or Settings menu.
- Look for “Cache” or “Media Cache” settings.
- Click on “Clear” or “Clean” to delete the cache and temporary files.
- Confirm and wait for the process to finish.
Step 4: Update Adobe Software
Make sure you have the latest version of Adobe software. Developers make updates to fix problems and make the software work better. To update your Adobe software, do this:
- Open the Adobe Creative Cloud application.
- Look for updates.
- If there are updates, click on “Update” to install them.
- Restart your computer after the updates are installed.
Step 5: Improve Computer Performance
There are a few things you can do to make your computer work better with Adobe software:
- Close unnecessary programs running in the background.
- Don’t let unnecessary programs start when you turn on your computer.
- Clean up your computer and organize your files.
- Add more memory (RAM) if your computer doesn’t have enough.
- Keep your computer and software up to date.
Conclusion
Adobe out of memory errors can be frustrating, but by following these steps, you can fix them and keep working. In this article, we explained why these errors happen and gave you solutions to fix them. By following these tips and taking care of your computer, you can avoid these errors and have a better experience with Adobe software.


